
Article: How to Use Your DAILE Puzzle Glue
How to Use Your DAILE Puzzle Glue
How to Use Your DAILE Puzzle Glue
You have finished your DAILE puzzle – now it is time to turn it into a lasting art piece. Follow these simple steps to glue and preserve your puzzle beautifully.
Before You Start
You will need:
-
Completed puzzle
-
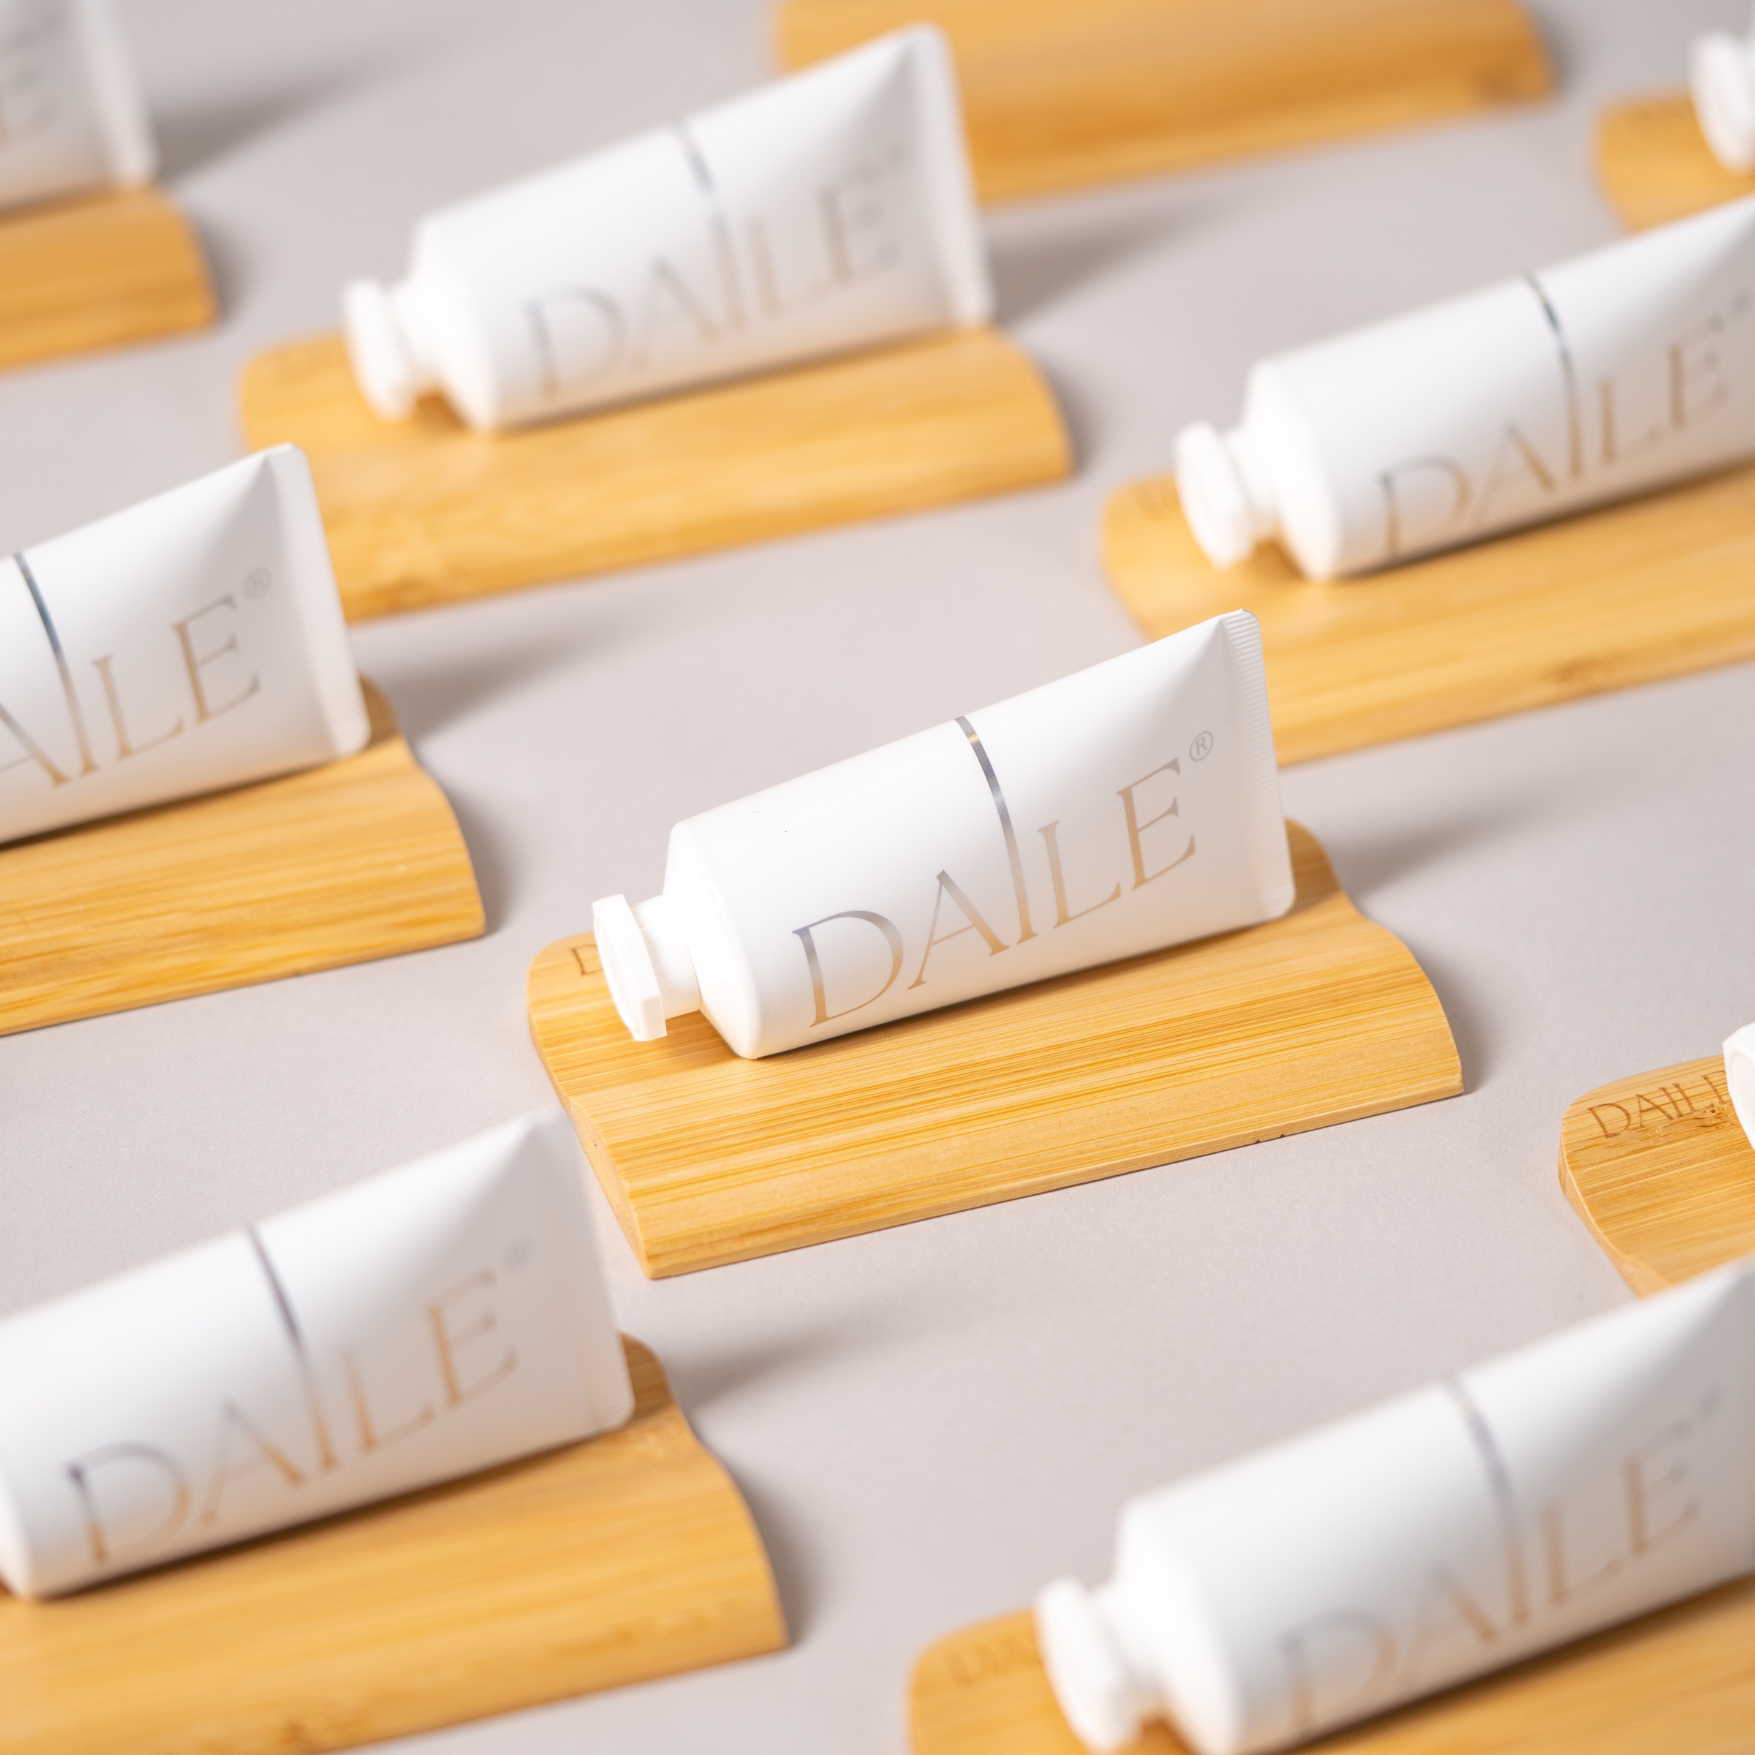
DAILE glue tube
-
Flat surface (table or floor)
-
Protective layer under the puzzle (baking paper, plastic sheet or cardboard)
-
A soft brush or a flat plastic card (old bank card, gift card, etc.) for spreading
Make sure the surface is dry, clean and stable. Work in a room with normal temperature and good ventilation.
Step 1 – Prepare the Puzzle
-
Move the finished puzzle carefully onto the protected surface.
-
Align all pieces: gently press with flat hands so the surface becomes as even as possible.
-
If needed, use the microfiber cloth from the DAILE set to remove dust or crumbs.
Step 2 – Shake and Open the Glue
-
Gently shake the DAILE glue tube so the texture becomes even.
-
Open the cap and, if necessary, pierce the seal according to the marking on the tube.
Step 3 – Apply Glue to the Surface
-
Start in the center of the puzzle.
-
Squeeze a small amount of glue directly onto the pieces (a few thin lines or drops are enough – you can always add more).
-
It is better to work in sections rather than cover the whole puzzle at once.
Step 4 – Spread the Glue Evenly
-
With your brush or card, spread the glue in thin, even layers.
-
Move in different directions (horizontal and vertical) so the glue flows into all gaps between the pieces and covers the surface completely.
-
Avoid thick “puddles”: the layer should be thin, semi-transparent and smooth.
You will notice a milky look at first – as the glue dries, it will become clear.
Step 5 – Check the Edges
-
Pay special attention to the outer edges of the puzzle.
-
Add a bit more glue if needed and spread it carefully so that all corner pieces are fixed.
This will help the puzzle stay stable when you lift it later.
Step 6 – Let It Dry
-
Leave the puzzle to dry flat, without moving it.
-
Average drying time is about 1 hour for a thin layer, but this can vary depending on room temperature and thickness.
-
The puzzle is ready when the surface is dry to the touch and the glue is clear.
For a stronger, slightly glossier finish, you can apply a second thin layer in the same way and let it dry again.
Step 7 – Optional: Glue the Back
If you want extra rigidity (for example, for very large puzzles):
-
When the front is completely dry, carefully turn the puzzle over onto another protected surface.
-
Apply a thin layer of glue to the back and spread it evenly.
-
Let it dry completely.
Step 8 – Prepare for Hanging
-
After full drying (preferably overnight, 12–24 hours), the puzzle becomes one solid piece.
-
You can now attach magnets, backing board or hanging hardware – depending on how you plan to display it on the wall.
Tips for the Best Result
-
Thin, even layers always look better than one thick layer.
-
Do not rush drying – the longer you let it rest flat, the smoother the final surface.
-
Keep the glue tube tightly closed after use so you can use it again for your next DAILE puzzle.
